Real Estate Tips for Photographing Your Staged Home
For a faster, more profitable home sale

Photographing your staged home for online real estate viewing could possibly be the most important step in getting buyers to visit your house! Learn how you can post the most flattering pictures of your own home.
Online real estate photographs are the first thing buyers look for when searching for a new home-- over 90% to be precise.
A recent survey found that 86% of home buyers felt that online real estate pictures were the most important and useful feature of their search, meaning posting pictures of your staged home can be crucial to the sale of your house.
Additionally, most buyers said they skipped right past listings that didn't have pictures to view.
It's human nature to be suspicious and wonder why pictures are missing--what are they hiding? If you want to sell your house, you MUST include visual elements of it online.
DIY tips for photographing your staged home

This page doesn't deal with which camera to use or camera settings, but rather with guidelines to help you set up the perfect shot for online real estate viewing.
The only thing you need is a good camera or cell phone capable of producing high-resolution photographs.
I was once a camera purist, but changed my mind when my camera batteries died in the middle of a house photo shoot.
I was miles from nowhere, so had to finish the shots with my cellphone. The final results surprised me. My cell phone pictures looked pretty good!
Take some time to scroll through some online real estate pictures. There are plenty of bad examples out there.
Be sure to take note of why some pictures look better (or worse!) than others.
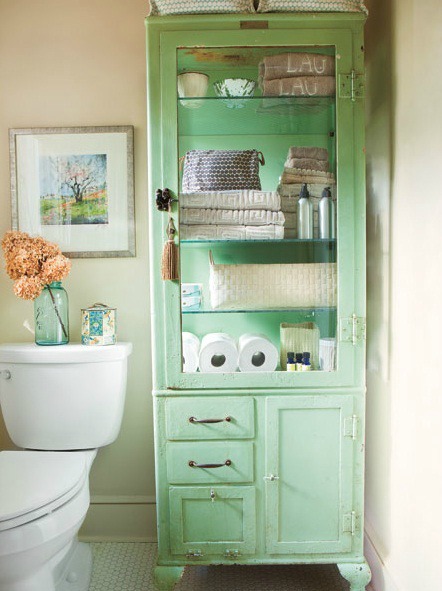
Cleaning and staging your home before presenting your photos to the public will ensure that your property shows well online. Be sure to clean, depersonalize and stage before shooting your pictures..
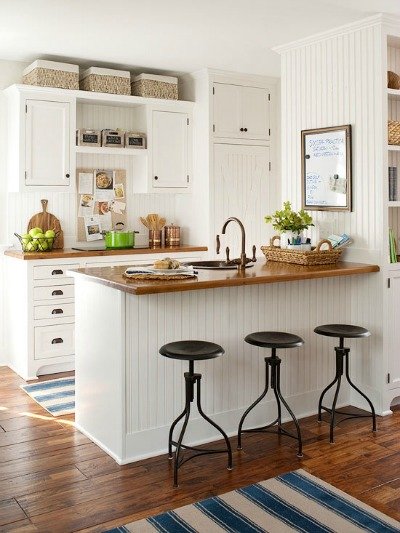
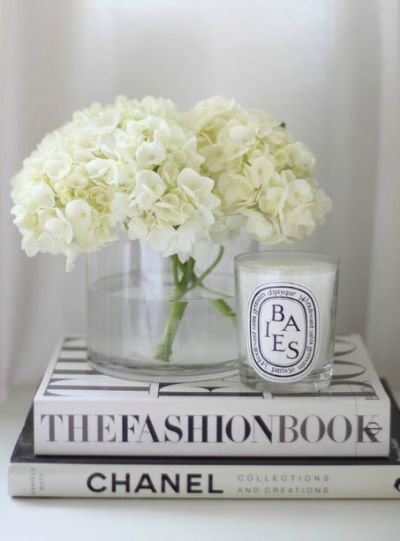
 A kitchen should be immaculate for online photos. Be sure to clear the counters and stage with a pretty bowl of fruit or a vignette that depicts a fun lifestyle.
When photographing your staged home, present a lifestyle that home buyers are looking for. Browse online or look through interior decorating magazines for ideas and current trends.
Highlight special features in your home

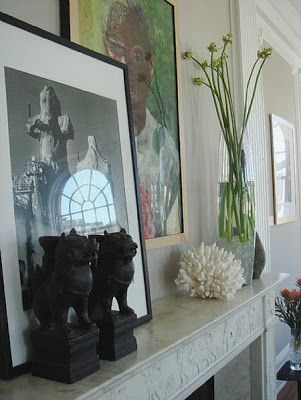
When photographing your staged home, be sure to highlight high-end features and focal points of each room.
- crown molding
- beautiful light fixtures
- a showpiece range hood
- high-end appliances
- high-end kitchen cabinets
- a kitchen island
- a cozy fireplace
- an open floor plan
- an amazing view from a deck
- beautiful landscaping
- interesting architectural details, like rustic beams, beautiful windows or tray ceilings
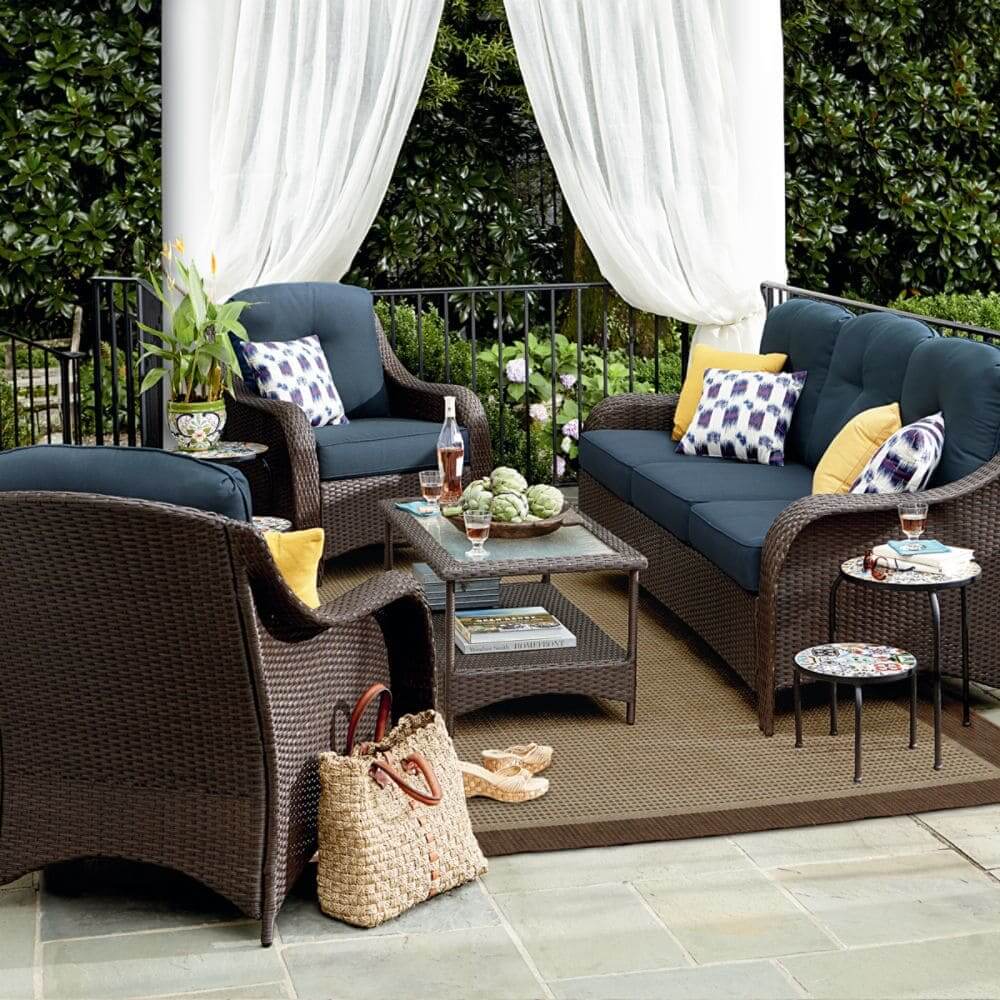
- unique outdoor features like; an outdoor entertaining area, a sparkling swimming pool, hot tub, built-in barbecue, a greenhouse, tennis court, children's play area, etc.
For more diy tips on photographing your home exterior and outdoor spaces, see six must-have online real estate photos.
Setting up your shots
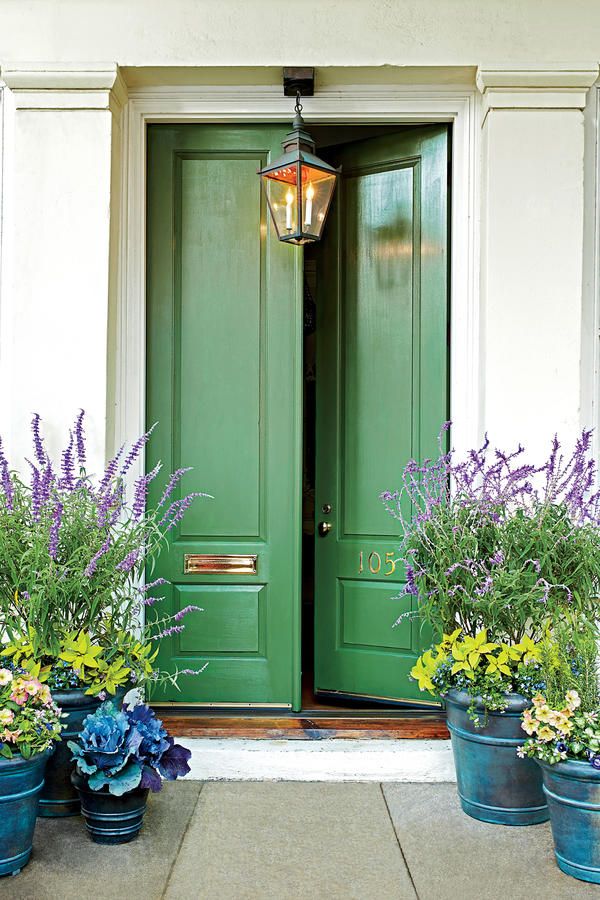
 A beautifully painted house by NolanPainting.com. Photograph the home exterior at an angle to show the depth of the house.
Use a tripod
- A tripod will prevent you from taking blurry or tilted images.
- To avoid "perspective distortion," adjust the camera angle so that edges are vertical, straight and level.
- Shooting from standing height can cause perspective distortion as well. Instead, squat down or use your legs like a tripod if you don't have one.
Tips on how to take successful real estate pictures
- It may seem logical to shoot straight at a wall, but the result can often make a room seem flat and walls appear to bend.
- A common mistake is trying to capture an entire room in one shot, unless a room is so small it can't be avoided. In that case, snap your shot from the entry or a room corner.
- Photographing three walls can create a boxed-in effect. In general, no more than half a room should be visible in a shot. This means that only two walls, part of the ceiling and floor will be in the frame.
- To highlight the dimensions of each room, stand in a corner and take pictures from that angle. Be sure to repeat that shot in the opposite corner to include the entire room.
- Take exterior photos at an angle, as well. This will show off the depth of your home.
- Be aware of clutter and other distracting details-- clear them away before snapping your pictures. I once forgot a bottle of Windex on a windowsill. I saw it later after the picture posted!
- If an object or piece of furniture “jumps” out at you in a photograph, remove it or retake the picture from a different vantage point. The point of staging is to simplify and get rid of anything that distracts from your home's best features.
- Avoid using an ultra-wide angle-lens which can distort the size of a room. Trying to make your home look bigger then it is will only disappoint buyers when they see it in person.
- Avoid placing subjects dead center in the frame of your photograph-- boring! Instead, mentally divide the frame into thirds and place your subject along one of those lines. This is called "the rule of thirds." Placing your subject off-center makes a composition more interesting.

- Consider perspective when photographing your staged home. As the photographer, you not only get to choose your subject, you decide how viewers will see it. The angle in which you hold your camera effects the way the subject appears to the viewer.
- Be aware of the size of objects inside the frame. Large objects will appear closer to the viewer and will seem more prominent in importance.
- When highlighting a particular feature or object, make sure it's framed close enough so that it doesn't compete with other objects in the room.
- Zoom in and out. Experiment. You will be amazed at how different your space will look from different vantage points.
- Here's the best tip! Take as many pictures as you want. The more you take, the larger the selection you will have to choose from.
The best lighting for interior pictures

Try working with natural light, and if you're lucky, on a sunny day. Open all window treatments and shoot with the sun behind the camera. This will lighten each room and help you avoid shadows..
The best light occurs in early morning (30 minutes after sunrise) and late afternoon (one hour before sunset) when the light is softer. If lacking enough natural light, turn on some interior lights.
Avoid shooting pictures when the sun is glaring in the windows. Sometimes you just have to wait for the right light.
A well-lit interior is essential for photographing inside, so turn on all the lights if natural lighting isn't bright enough.
Avoid using a flash, if possible. A flash often creates a hard light, shadows, or an eerie quality. It will also reflect off windows and mirrors.
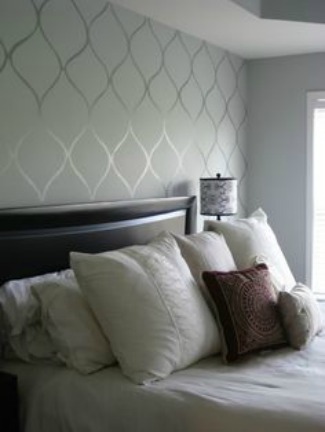
The feature wall in your photograph should be well lit. If lighting is insufficient, bring in a floor lamp and point it toward the subject wall. Be sure the light is behind you when you snap your pictures.
Bring in an extra floor or table lamp to fill dark corner spaces. Your goal is to balance the light so that there are no over-lit or under-lit spots in the shot.
Be aware of glare from windows, mirrors, and shiny objects in the room. Don't aim your light source directly at mirrors or windows-- the reflection will produce a harsh glare.
Avoid pointing your camera directly toward a light source. This can produce shadows that muddle most of your image.
A soft light is most desirable for shooting photographs, so take your pictures in early morning or late afternoon.
Make good use of the light that is available in the room. Play with the shades, open the window treatments... experiment.
If you’re relying on natural light alone, the best time to shoot depends on the placement and size of windows.
If too much light is coming in from the windows, close the drapes or window shades. Never photograph straight into the light.
Bright light in the background is better than indoor lighting. You may want to experiment at different times of the day to see which lighting you prefer.
A general rule of thumb is that eastside room photos should be taken in the morning and westside in the afternoon. Rooms with northern and southern exposure should be taken when the rooms are at their brightest.
Don't shoot on a rainy, dreary day. This will make your home appear dismal and uninviting.

Home exterior night photos can be a charming addition to your online listing photos. Maybe you have appealing outdoor landscape lighting or a welcoming porch you’d like to highlight?
Indoor pictures can be taken at night, but the results won't be as reliable. You'll have to turn on all the lights and use your flash. Experiment by moving extra lamps around to improve your shots.
Home exterior shots taken on a bright sunny day make cast dark shadows on your home. Exterior shots often turn out better taken on overcast days.
Posting your pictures online
- When you're ready to post your pictures online, start with exterior shots of the house front and yard, following by the rest of the exterior. Be sure to include any outstanding outdoor features like; landscaping, outdoor entertainment area, swimming pool, etc.
- Post indoor photos as if you are walking through the house. Start with the entry and continue from there.
- Include at least 2 pictures of each room, except for very small spaces. Keep in mind that most people are interested in the kitchen, living room and master bedroom and bath. Post more if needed.
- Post 20 to 30 photos for your listing. Too many pictures will cause viewers to lose interest.
- Don’t forget to use your picture editor to fix less-than-perfect photographs, but don't over edit.
- Be sure to label each picture as well, so viewers don't have to guess which room they're looking at.
What NOT to do when photographing your staged home...
Fluffing - This is a real estate term for exaggerating, by using descriptions to make a home sound better than it really is. This can be done with over editing photos as well. Fluffing, or fluffery, is done for the sole purpose of getting buyers in the door.

As a former realtor, I viewed it as a complete waste of time, because when buyers actually saw the house they were angry and disappointed.
Fraud - Avoid photoshopping too much. You could run into ethical issues if you falsely straighten up a deteriorating chimney, add wood flooring where none exists, or edit out a gravel pit next door. It’s acceptable to edit out things like your dog or a car in the driveway, or the garbage can you forgot to put away.
Take care that you don't falsely misrepresent your house by making it took too good. Buyers will only be disappointed and walk away angry.
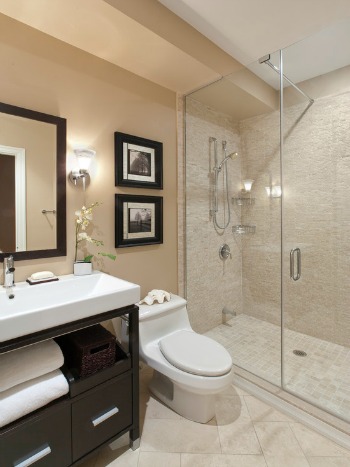
- Don't photograph bathrooms with a toilet seats up...EVER!
- Don't post blurry pictures online.
- Avoid publishing your photos upside down or sideways. Believe it or not, I've seen real estate agents do this on the MLS. Take the time to rotate the pictures properly.
 Avoid making this mirror selfie faux pas!
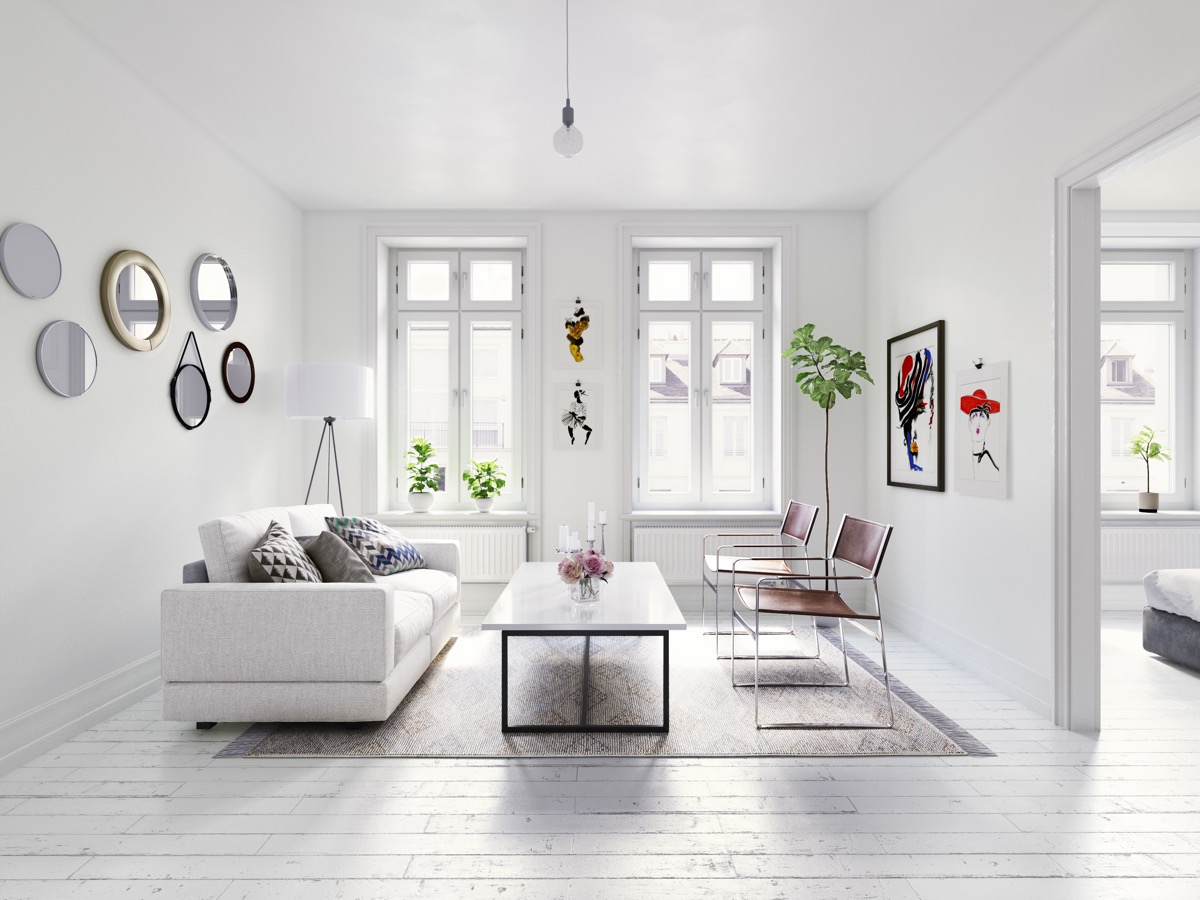
- Don't take pictures of empty rooms, as they don’t leave an impression on viewers. Add a piece of furniture; a desk and chair, a bed...something to give the viewer a sense of purpose, scale, and perspective.
- Never leave a room out of an online gallery when photographing your staged home. People are always suspicious when a room is left out. What are they hiding?
- Do your dishes! I know, that sounds obvious, but I've seen many real estate pictures featuring a kitchen sink full of dishes.
- Keep people out of the pictures. This makes it hard for buyers to see themselves living there. A sleeping cat on a bed is always charming, except to those with allergies.
Return from photographing your staged home to home page
Go to declutter your home
Updated 1-31-2024