Removing a glued-on Mirror from a Wall
For a faster, more profitable home sale
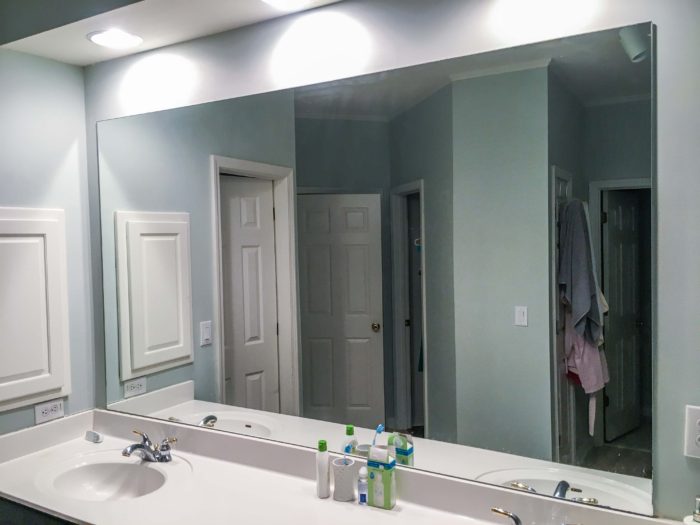
 Are you stuck with one of these uninspiring builder grade mirrors in a bathroom or elsewhere in your home? Photo by buildingourrez.com.
Most of us are familiar with those uninspiring builder grade mirrors that are typically found in starter homes, typically in the bathroom or on sliding closet doors in the master bedroom.
How many of us have wanted to remove them but didn't know how?
Removing a glued-on mirror is tricky but can successfully be done with the help of a few friends, the right tools and some know-how.
When I was a realtor showing houses, I witnessed plenty of groans from buyers each time we entered a master bedroom with the ubiquitous floor to ceiling mirrors. At times, it seemed we couldn't get away from them!
These large mirrors are a pain to remove, because they are usually glued to the walls for safety reasons. A mastic adhesive keeps the mirrors from rattling and eliminates the need for brackets. Removing them can be a bit tricky.
Depending on the size of the mirror, you may need some help taking it down.
An alternative to removing a glued on mirror is to add a decorative frame around the edges with molding or wood trim.
Supplies you will need to remove a glued-on mirror
- duct tape and cellophane wrap
- hair dryer
1. Lay a tarp down under the mirror to catch any broken glass, that, hopefully, you won’t have.
2. Cover the surface of the mirror with cellophane and duct tape. If the mirror has any clips attached to the edges of the mirror, remove them.
3. Cut your wire or fishing line so that it measures 2 to 3 feet longer than the width of the mirror. Wrap each end of the wire around the dowels to create a crude saw.
4. Don your protective gear.
5. With the blow dryer set to the hottest setting, slowly go back and forth over the front of the mirror to soften the underlying glue.
6. To be safe, have your helper hang onto the mirror in case it comes loose.
7. Start working your putty knife under the edges of the mirror to loosen it.
8. If the mirror has not come loose by this time, take your wire, with one person at each end, and place it behind the mirror. Pull it back and forth just as you would with a saw. Have another helper standing in front of the mirror to catch it.
If all goes well, your mirror will come off in one piece and you won’t have bits and pieces of glass shards to clean up!
Watch the video demonstration below by DIY Network on removing a glued-on mirror from the wall with the use of suction cups. You can rent suction cups from any home improvement center.
How to update a builder-grade mirror with a frame
Instead of removing the mirror from the wall, why not frame it with some attractive molding or trim? An update like this will add value to your home.
Order a pre-cut frame:
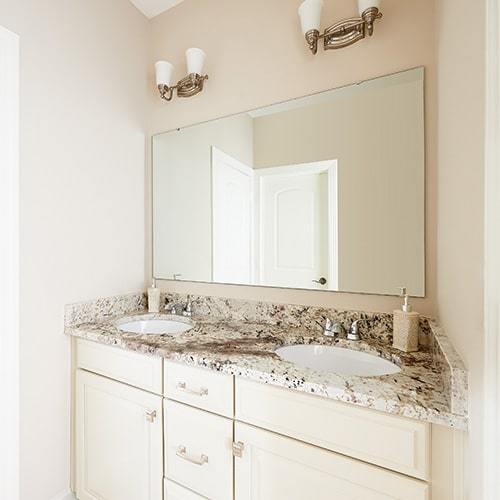
 Before: Photo by mirrormate.com
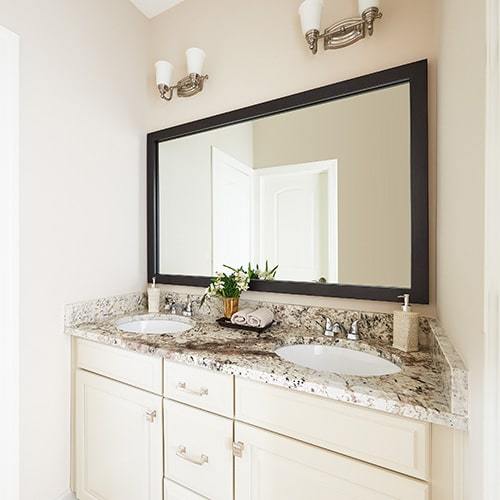
 After: Photo by mirrormate.com
Notice how the framed mirror instantly updates this small bathroom? You can find a wide selection of beautiful made to fit mirror frames at mirrormate.com.
You simply select a style, measure your mirror and order-- it's so easy!
The pre-cut frames are also easy to install; just press the frame right onto the glass while your mirror is on the wall. No tools or special skills needed.
Pre-cut mirror frames will add instant appeal to your bathroom decor and keep buyers from thinking about all the work they'll have to do taking the mirror down..
Build your own mirror frame
You will need:
- rubbing alcohol
1. Measure each side of the mirror and have your chosen trim cut to fit at your local building supply center.
2. Clean all the dust and debris from the mirror’s surface.
3. Pour some rubbing alcohol into a rag and wipe the edges of the mirror where the trim will be glued. This will remove any grease that may prevent the wood trim from sticking.
4. Apply a thin line a adhesive on the back side and in the middle of the wood trim in a zigzag manner. Stay away from the edges to keep the glue from flowing onto the mirror.
5. Press the wood trim into place and hold until the adhesive is set. You could also tape the trim in place until the glue is dry. Repeat on each side.
Return from removing a glued on mirror to staging your bathroom
Return to home page